
Last updated November 21, 2026
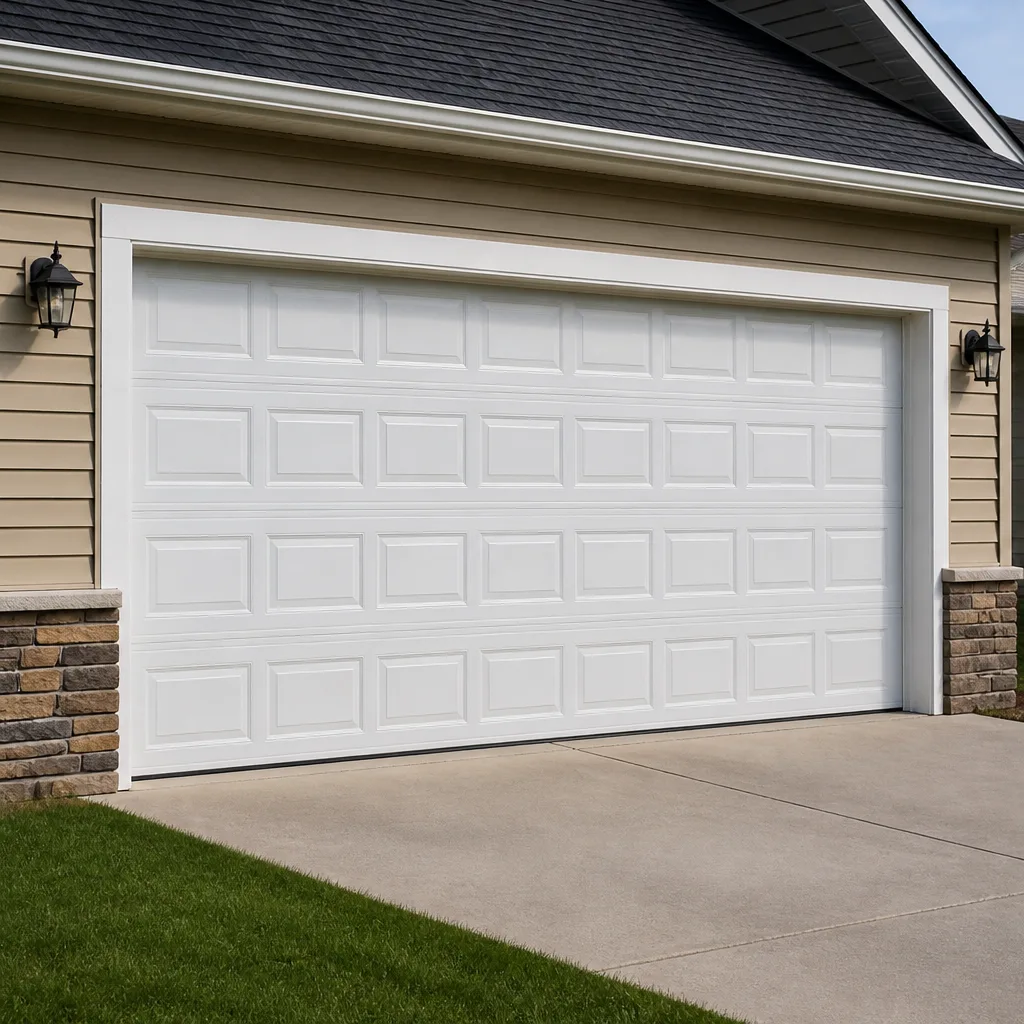 Raised-panel steel
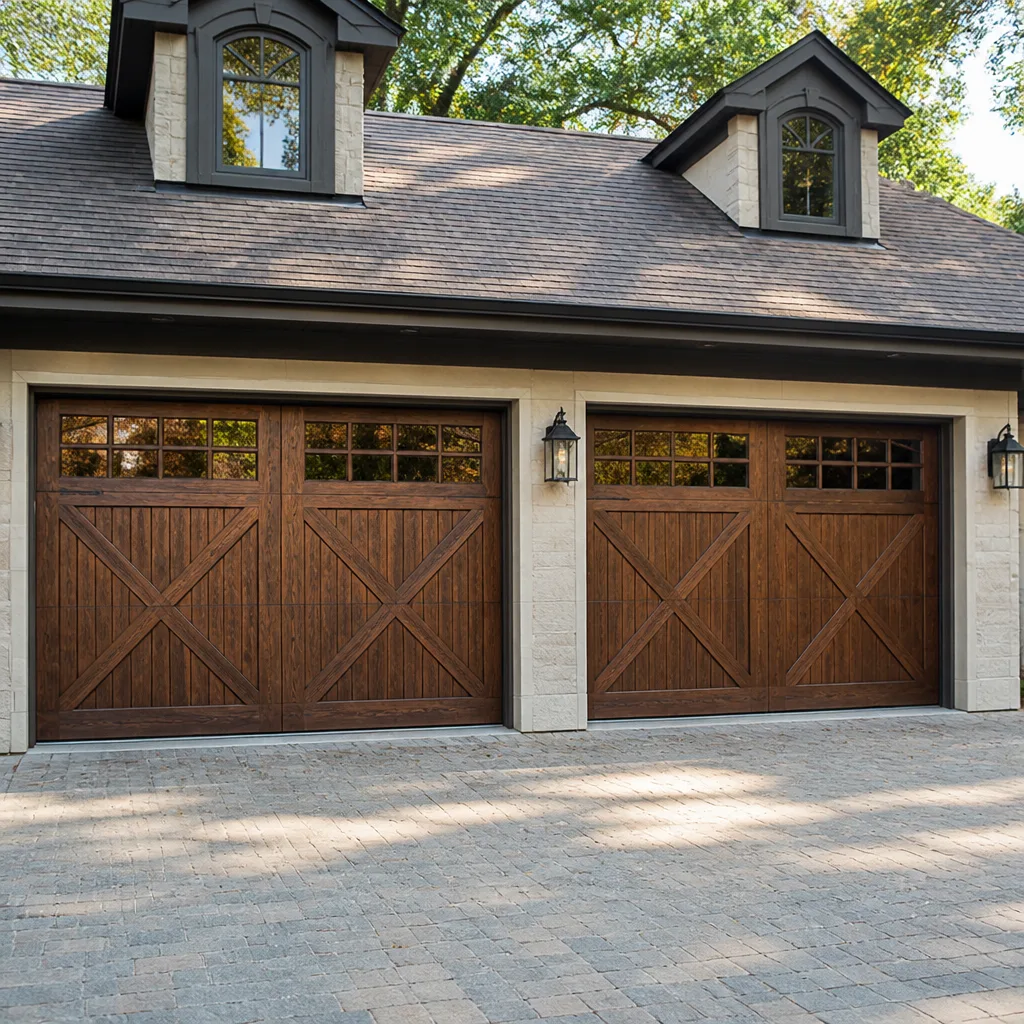 Carriage house
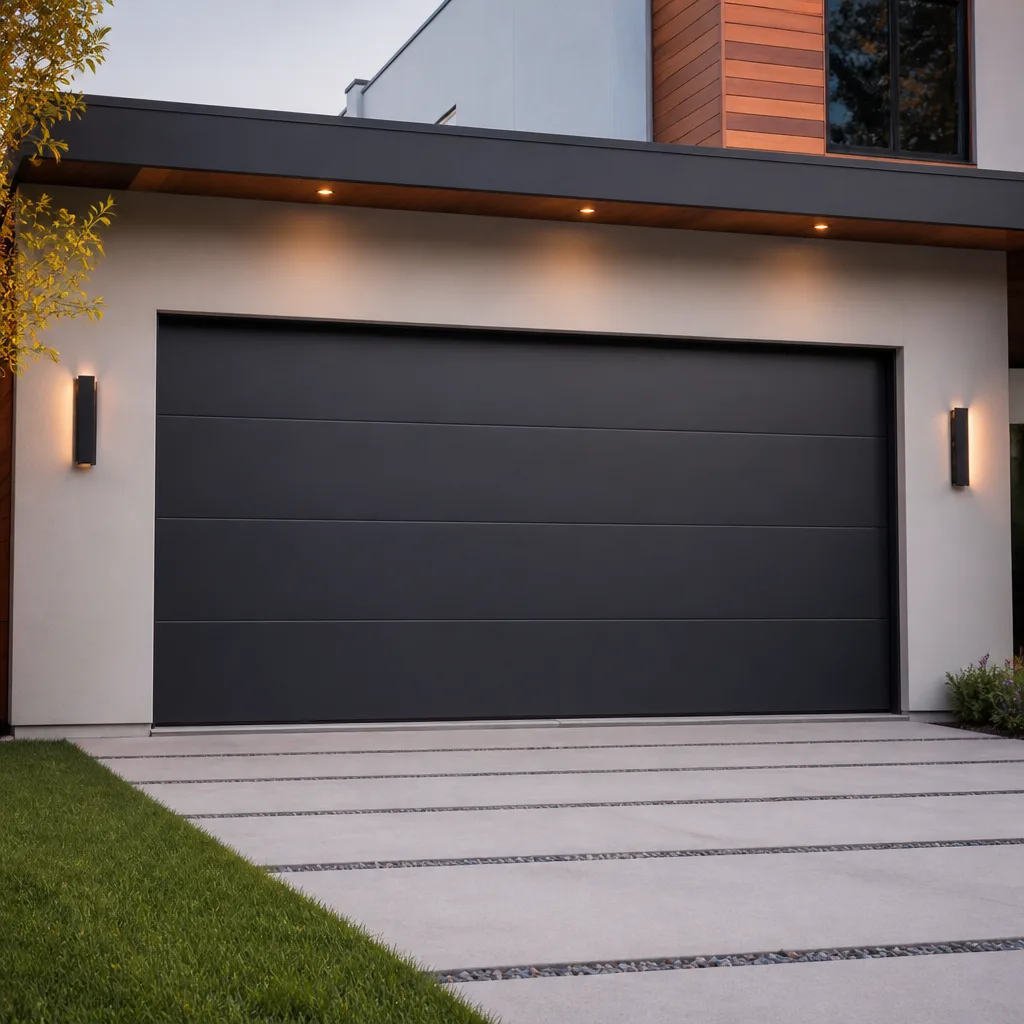 Modern flush
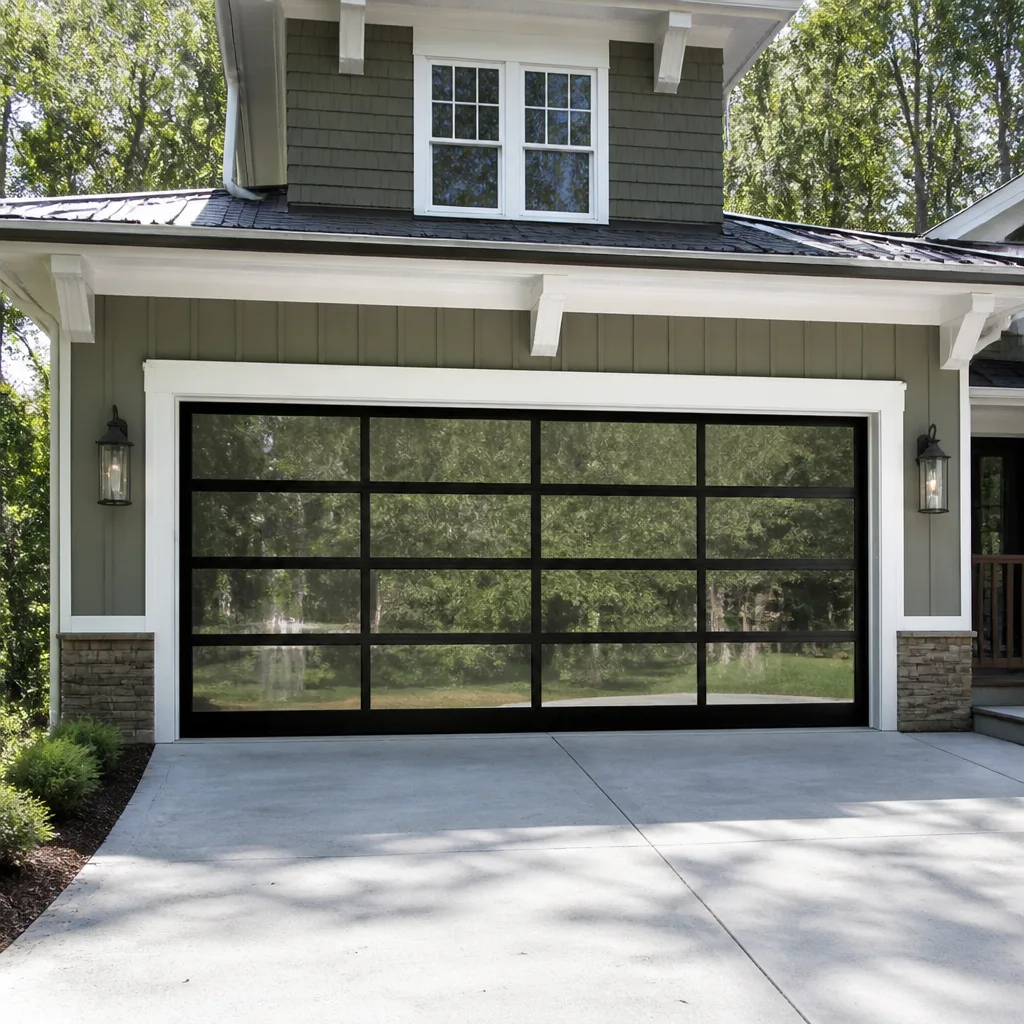 Full-view glass
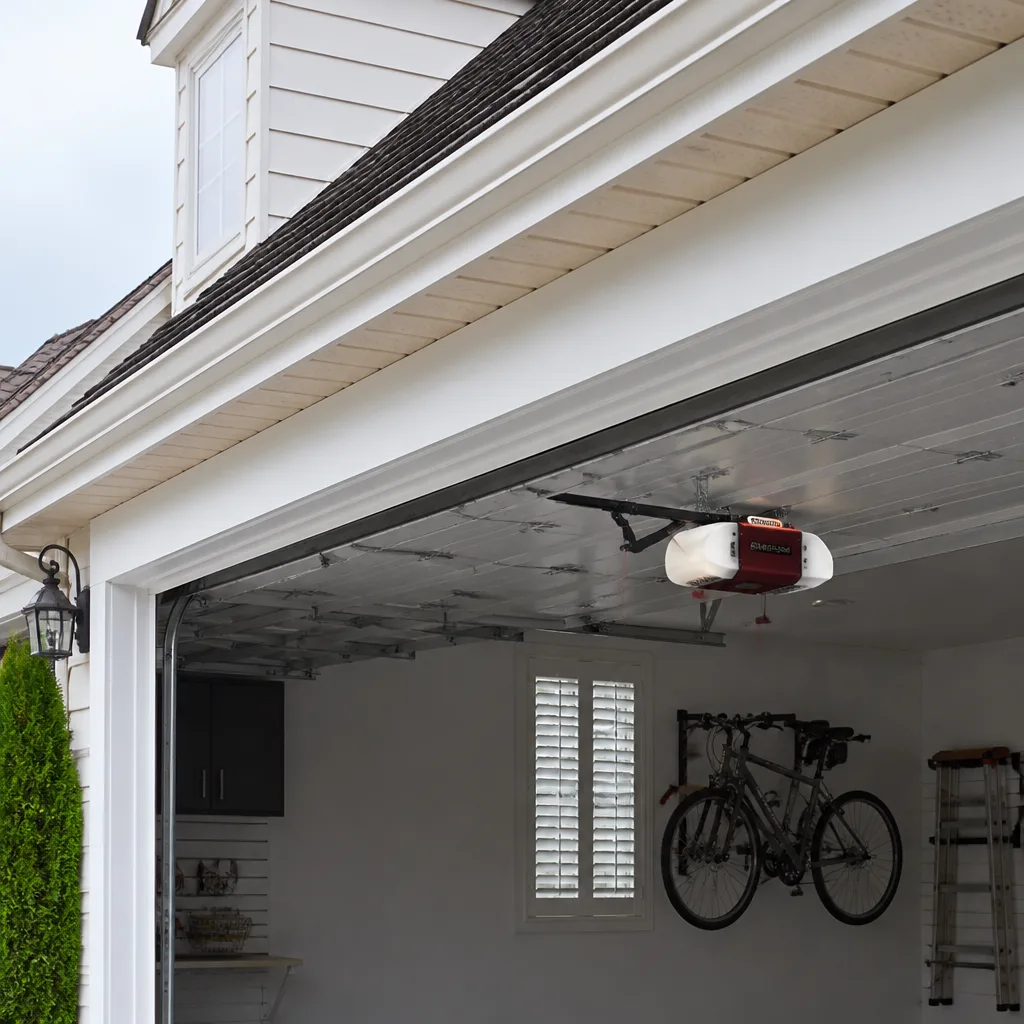 LiftMaster openers
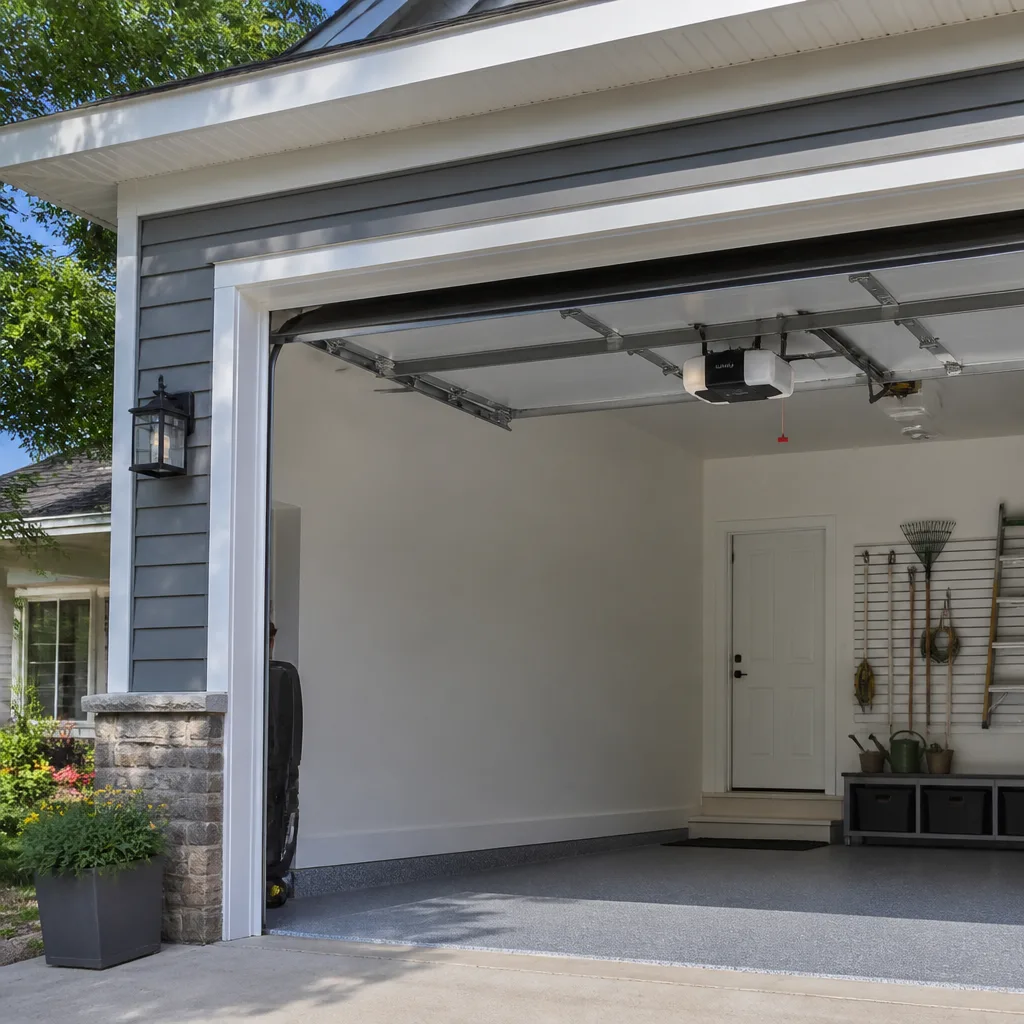 Chamberlain openers
Full 25-point door and opener safety check with every visit - springs, cables, rollers, tracks, and your LiftMaster or Chamberlain opener included
You get a price before we start. It does not change when the pro arrives.
Get your free estimateGarage Door Repair Maintenance Checklist for Parkchester Homeowners
Most Parkchester homeowners assume a garage door fails because it got old. In our experience, the bigger factor is what the door faces every winter: road salt spray that works its way into bottom brackets and cable drums long before the panels show any wear. A door that’s only a couple of winters into its life can already be corroding at the hardware if nobody has touched the moving parts. This guide breaks down a maintenance checklist built around the conditions a Parkchester door actually lives with, from monthly lubrication to the annual inspection items you should never handle yourself. You’ll learn what to check, what to leave alone, and when to call in help.
Quick Answer
A working garage door maintenance checklist in Parkchester has three layers: monthly lubrication and visual checks, quarterly inspection of cables, drums and brackets, and an annual professional tune-up that includes spring and balance testing. The single most overlooked item is cleaning and re-lubricating the bottom brackets and cable drums, where road salt and humidity cause the fastest corrosion. Anything involving springs, cables under tension or the torsion system belongs to a trained technician, not a homeowner.
Styles & brands we work with
- Raised-panel steel
- Carriage house
- Modern flush
- Full-view glass
- LiftMaster openers
- Chamberlain openers
Table of Contents
- Why Parkchester Doors Age Differently
- Monthly Maintenance Tasks
- Quarterly Maintenance Tasks
- Annual Maintenance Tasks
- Lubrication That Works in Bronx Winters
- Inspecting Cable Drums and Bottom Brackets for Salt Corrosion
- Checklist Items for Shared and Low-Clearance Garages
- What You Can Check Safely vs. What Needs a Professional
Why Parkchester Doors Age Differently
Parkchester sits in a part of the Bronx where winter road treatment and urban humidity combine in ways a suburban garage rarely sees. Salt spray thrown up from the street doesn’t just sit on the door’s paint; it migrates into the bottom brackets, the cable drums and the hinges, where it holds moisture and starts corroding the metal underneath. The result is hardware that seizes or weakens before the door itself shows its age.
Humidity plays its part too. Buildings near subway grating and dense street-level infrastructure tend to hold more ambient moisture at the garage level, which accelerates rust on any bare metal. Add the temperature swings of a Bronx winter and you get constant expansion and contraction, working screws loose and stressing the torsion system.
That’s why a generic checklist written for a suburban two-car garage misses the mark here. A Parkchester checklist needs to weight corrosion control and hardware inspection more heavily than a checklist built around curb appeal and paint. If you want a baseline understanding of the repair side before you start, our garage door repair page covers the common failure points.
Monthly Maintenance Tasks
Monthly checks are quick. Ten minutes is enough to catch developing problems before they turn into repairs. Set a reminder for the same day each month so it doesn’t slide.
- Test the balance. Disconnect the opener (pull the release handle), lift the door halfway by hand and let go. A balanced door stays put. A door that drifts down or slams up has a spring or tension problem that needs a professional look.
- Listen to the door. Run it open and closed and pay attention to grinding, squealing or rattling. New noises usually mean dry rollers or a loosening hinge.
- Check the weather seal. Look at the bottom rubber for cracks or gaps. A torn seal lets in cold air, water and street grit, which speeds up corrosion at the bottom of the door.
- Wipe down the bottom brackets. A damp cloth to remove surface salt and grit from the brackets and the lowest hinges goes a long way. Dry them after.
- Test the safety reverse. Place a roll of paper towels under the closing door. It should reverse on contact. If it doesn’t, stop using the opener and get it checked.
- Look at the photo-eye sensors. Make sure the two sensors near the floor are aligned and their lenses are clean. A misaligned sensor is the most common opener complaint we hear.
None of this requires tools beyond a cloth and a roll of paper towels. If a month’s check turns up a real problem, that’s the point: small issues caught early are cheaper than the failure they’d become.
Quarterly Maintenance Tasks
Every three months, go a little deeper. Quarterly maintenance is where you start catching the wear that monthly checks can’t see.
- Inspect the rollers. Steel rollers wear and develop flat spots; nylon rollers crack. Look for wobble or visible damage and note any that need replacing.
- Check the hinges. Open the door partway and look at each hinge for looseness or rust. Tighten any loose bolts, but don’t overtighten; stripped bolts in a hinge are a nuisance to fix.
- Examine the cables for fraying. Look, don’t touch. Frayed strands near the drum or bottom bracket mean a cable is close to failing, and that’s a professional job.
- Look at the cable drums. Check for rust, grooving, or cable that’s jumped its track on the drum. Any of these means a call.
- Clear the tracks. Wipe the inside of the vertical and horizontal tracks with a dry cloth. Don’t lubricate the tracks; grit collects in grease and causes binding.
- Check the opener’s force settings. If your opener has adjustable force or travel limits, review the manual for your model (LiftMaster, Chamberlain and Genie all publish theirs) and confirm the settings haven’t drifted.
If you find an opener issue during a quarterly check and need it looked at, our garage door opener repair page explains what a technician will test. We work on the major smart-home-compatible opener brands, so connected systems from LiftMaster and Chamberlain are familiar territory.
Annual Maintenance Tasks
The annual layer is where professional service earns its place. Once a year, a full inspection covers the items that are either dangerous or invisible to a homeowner.
- Spring inspection and balance test. A technician checks the torsion or extension springs for fatigue, rust and correct tension. Springs are under extreme load and are not a homeowner item.
- Cable and drum evaluation. A pro checks the cables for hidden fraying and the drums for wear that a visual glance misses.
- Full opener diagnostic. Gears, logic board, safety sensors and force settings all get tested together, which catches intermittent issues before they strand you.
- Panel and track alignment. The door should run smoothly with no binding. A pro can spot a slightly bent track or a binding panel that’s putting extra load on the opener.
- Hardware torque check. Every bolt on the door gets checked and tightened to spec. Loose hardware is a leading cause of premature wear.
- Full lubrication of all moving parts. A proper annual lubrication using the right products for cold weather, covered in the next section.
Doing this once a year, ideally before the first hard freeze, keeps the whole system in step. It’s also a chance to confirm your door is ready for the season ahead.
Lubrication That Works in Bronx Winters
Generic spray lubricant is the wrong tool for a garage door in cold weather. Most light spray lubes thin out or gum up when the temperature drops, leaving rollers and hinges dry just when the door needs them most. For a Parkchester winter, you want lubricants that stay put and resist moisture.
Here’s what performs:
- White lithium grease for hinges, rollers and the torsion tube bearings. It holds up in cold and resists wash-off from humidity.
- Silicone spray for the weather seal and any nylon parts. It won’t degrade rubber and won’t collect grit the way grease can.
- A dedicated garage door lubricant for the springs if you’re lubricating extension springs at all. Torsion springs get handled by a professional, since they’re under load.
- No WD-40 on moving parts. It’s a solvent, not a lasting lubricant, and it will leave rollers dry within days. Use it to loosen a stuck bolt, not to lubricate a door.
Lubricate monthly during winter and every couple of months the rest of the year. Wipe away old grease and salt residue before applying new. A door that runs quietly and smoothly after lubrication is a sign the internals are healthy; one that stays noisy after a fresh coat needs a closer look. Our technicians have up to 15 years of experience and can tell you exactly what a noisy door needs.
Inspecting Cable Drums and Bottom Brackets for Salt Corrosion
The bottom brackets and cable drums are where salt damage shows up first. These are the lowest hardware on the door, so they catch the most spray from the street, and they’re often overlooked because they’re low and out of the way.
Here’s how to check them safely, without touching anything under load:
- Look before you touch. With the door all the way down, inspect the bottom brackets visually. Rust streaks, white powdery corrosion, or bubbling paint are early warning signs.
- Check the cable at the drum. The cable should sit neatly in its groove on the drum. If it looks cross-threaded, has slack or shows frayed strands, stop and call a professional.
- Look at the drum itself. Grooving, a rough surface or visible rust pitting on the drum means the metal is wearing and the cable may be riding unevenly.
- Check the bracket mounting. Bolts holding the bottom bracket should be tight, with no rust bleed around the holes. Any looseness here is a safety issue, not cosmetic.
- Feel for grit, not tension. If you can safely wipe the bracket clean, do so and dry it. Don’t try to move the bracket or the cable assembly.
A monthly wipe-down plus a quarterly close look keeps salt from sitting long enough to start eating metal. If you see corrosion you can’t clean off, or any cable damage, that’s the point to stop. Cables and drums are under load and need a trained technician.
Checklist Items for Shared and Low-Clearance Garages
Not every Parkchester garage is a standalone structure. Shared garage buildings and low-clearance configurations have specific checklist items that a suburban checklist won’t cover.
- Check clearance above and around the door. Low-clearance setups leave less room for the door to travel, so any slight track bend or panel misalignment causes scraping. Check the door’s path every quarter.
- Coordinate on shared hardware. In a shared garage structure, springs and openers may serve more than one user. Report odd noises or slow movement to whoever manages the building rather than waiting for a failure.
- Watch for pooled moisture. Shared concrete floors often hold dampness near the door’s base, which accelerates bottom-bracket corrosion. A monthly dry-out helps.
- Test the safety reverse more often. A door used by multiple people and vehicles benefits from a safety reverse test every month, not every quarter.
- Note whether the door is a Clopay, Amarr, Wayne Dalton or Craftsman model. Knowing the make before you call can speed up diagnosis, since each brand has its own parts and tolerances.
Low-clearance doors also use different hardware configurations. If you’re not sure which type you have, a technician can identify it in a few minutes and tell you what to watch for. For anything involving a new door, our garage door installation page explains the process from measure to finish.
What You Can Check Safely vs. What Needs a Professional
Some of this checklist is genuinely yours to do. Some of it isn’t, and that line is about safety, not skill. Garage door springs and cables are under high tension; a slipped spring or snapped cable can cause serious injury, and there’s no safe DIY shortcut for either.
Safe for homeowners:
- Visual inspection of panels, tracks, seals and hardware
- Monthly lubrication of hinges and rollers with the right product
- Wiping down bottom brackets to remove salt and grit
- Testing the safety reverse and checking the photo-eye alignment
- Cleaning the tracks with a dry cloth
- Listening to the door and noting changes in sound or speed
Professional only:
- Any adjustment, replacement or repair of torsion or extension springs
- Any work on cables, cable drums or bottom brackets under load
- Straightening tracks that have bent
- Replacing an opener or opening the opener housing
- Any balance problem the door shows during the monthly test
If any item on this checklist ends in a “call”, that’s where we come in. We work on virtually every major brand, including Clopay, Amarr and Wayne Dalton, so there’s no guesswork about parts or tolerances.
Common Mistakes to Avoid
- Using WD-40 as a lubricant. It’s a solvent that dries out the moving parts. Two sentences after a fresh coat, the door runs quiet; then it runs louder than before, because the rollers have nothing left on them.
- Greasing the tracks. Grease attracts grit walked in from the street, and grit binds the door. Tracks should stay dry and clean.
- Skipping the winter pre-check. In Parkchester, the first cold snap reveals dry rollers and seized hardware. Doing the annual lubrication and inspection before the freeze prevents that.
- Ignoring a slightly off-balance door. A door that drifts is a spring problem, and spring problems get worse, not better. Waiting risks a failure that strands you.
- Over-tightening hinge bolts. Loose bolts are a problem, but stripping the metal in a hinge thread is a bigger one. Tighten to snug, not to grunt-tight.
- Assuming a new opener fixes an old door. A tired door and worn springs will strain any opener. The door gets serviced first, the electronics second.
- Standing under a moving door during checks. Test and observe from a safe position. A door that fails mid-cycle can come down fast.
See the difference
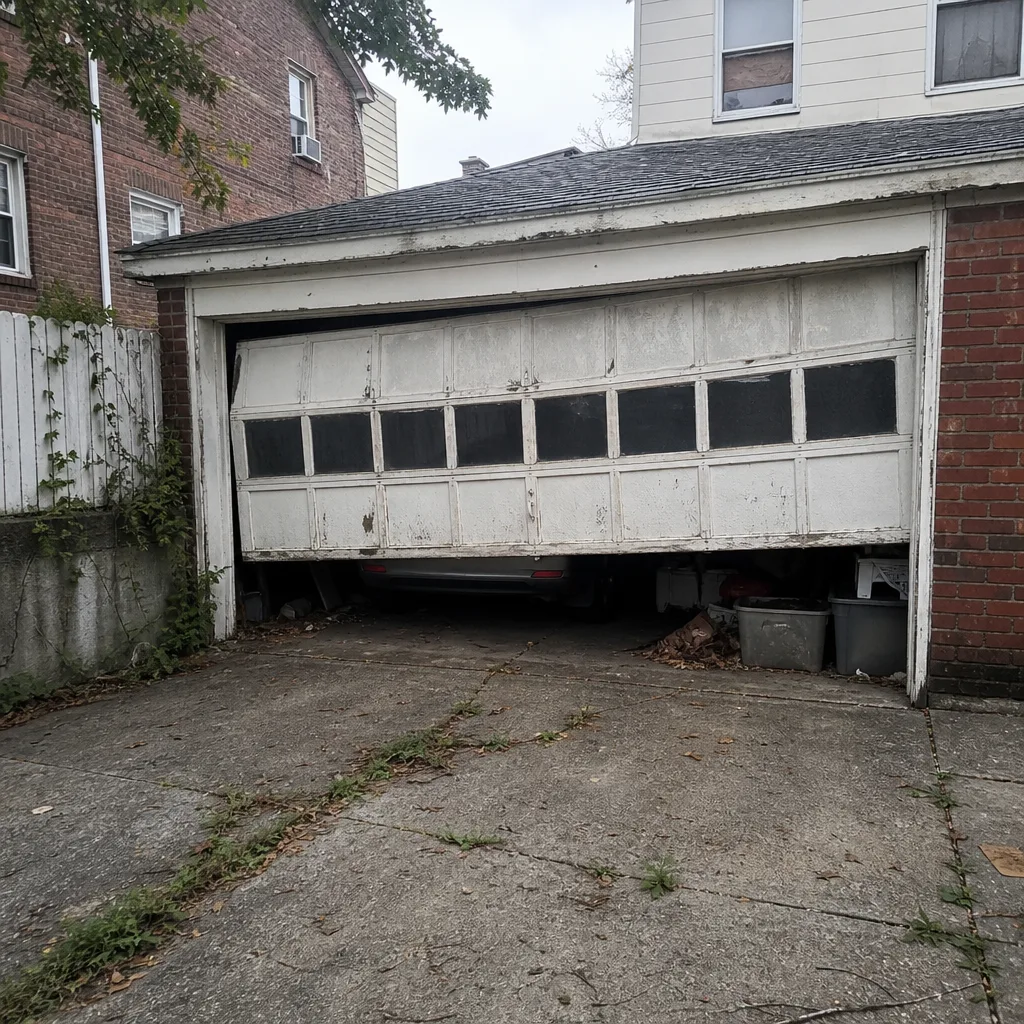 Before
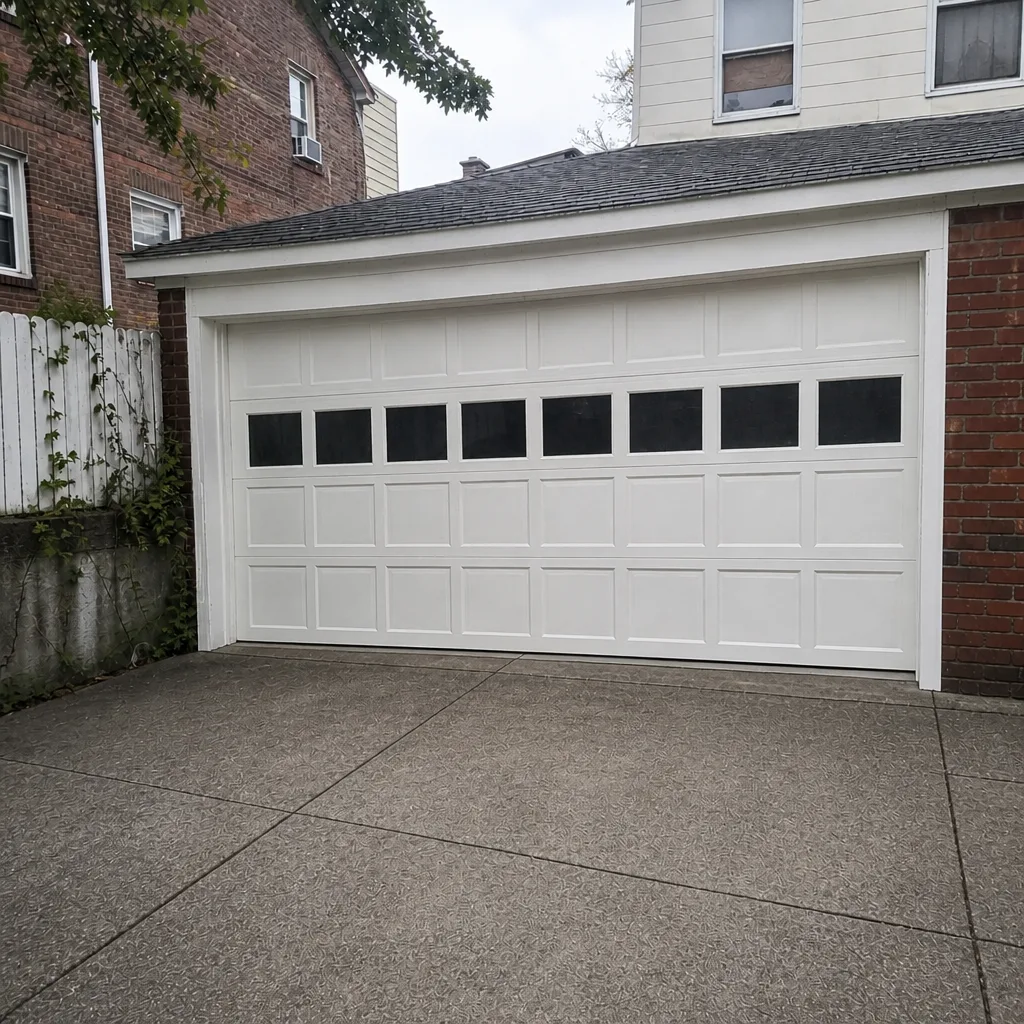 After
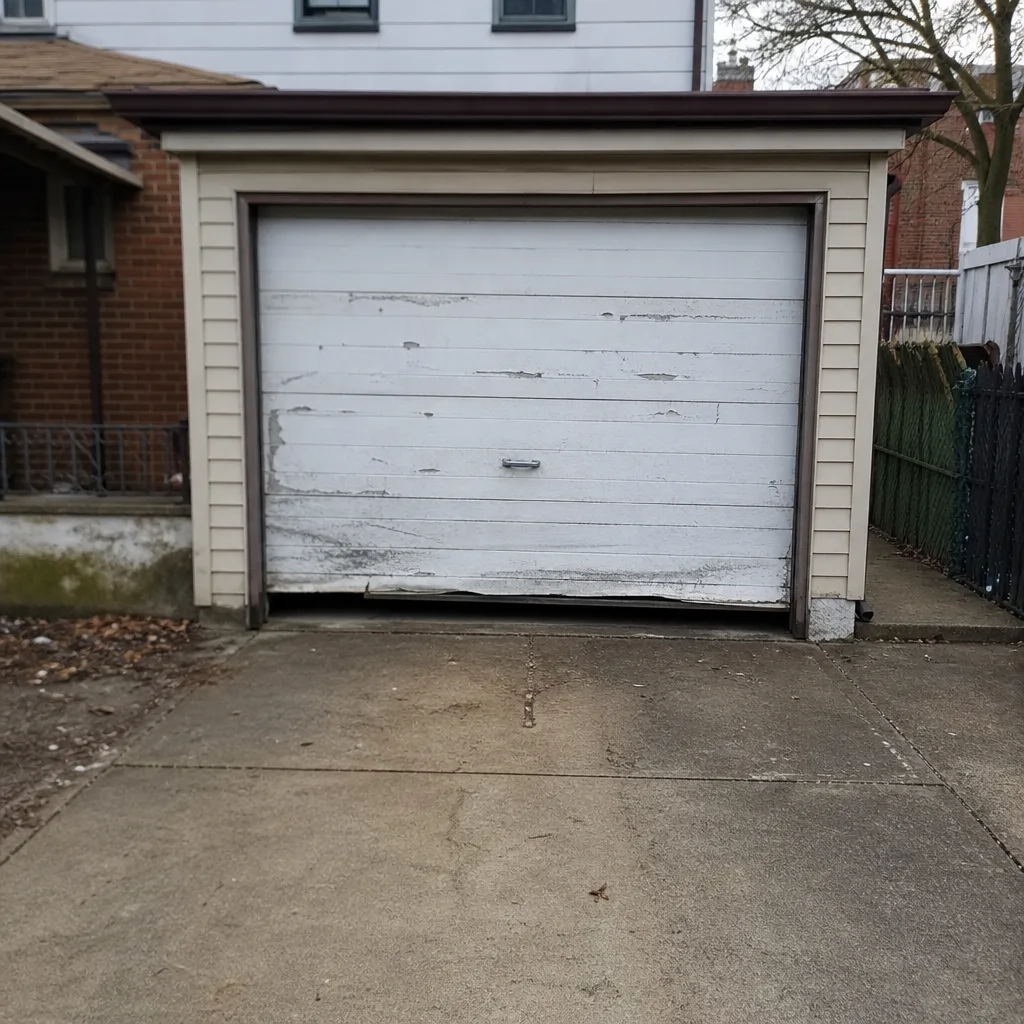 Before
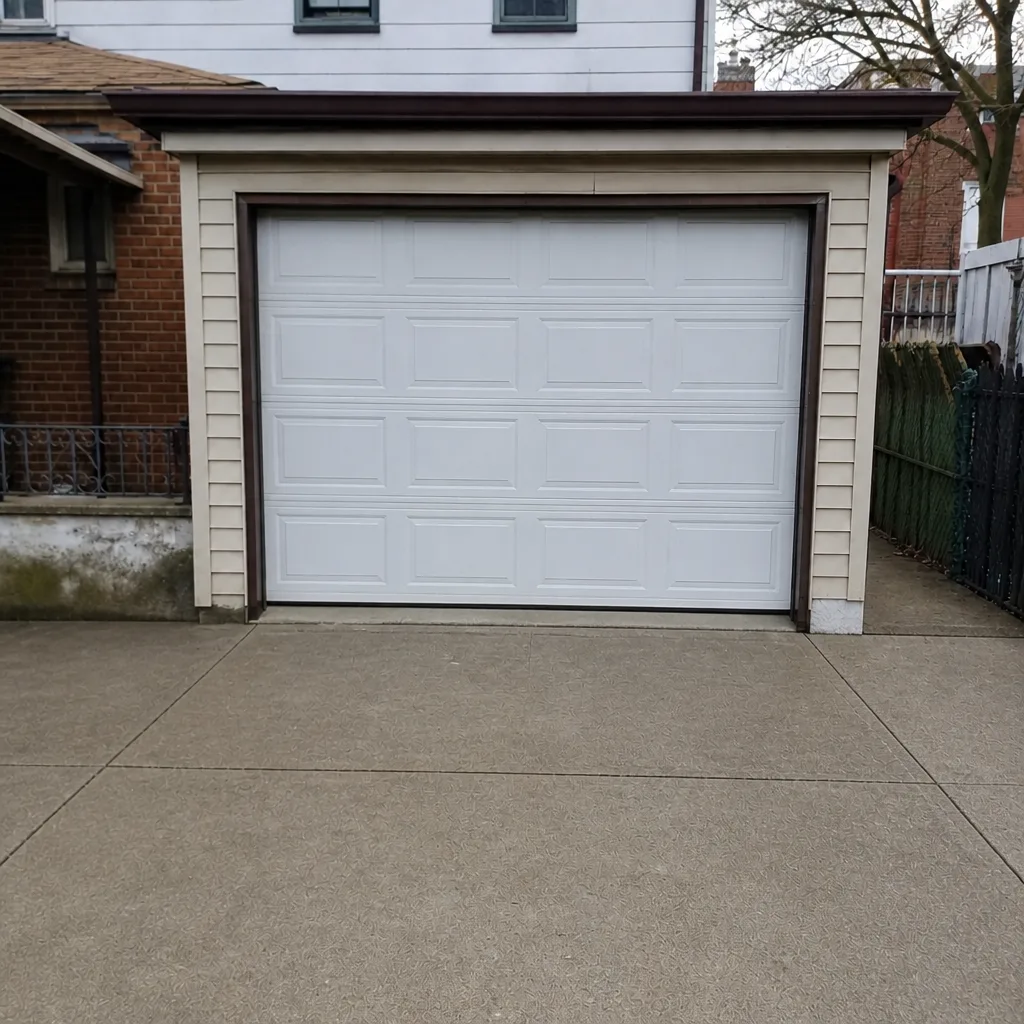 After
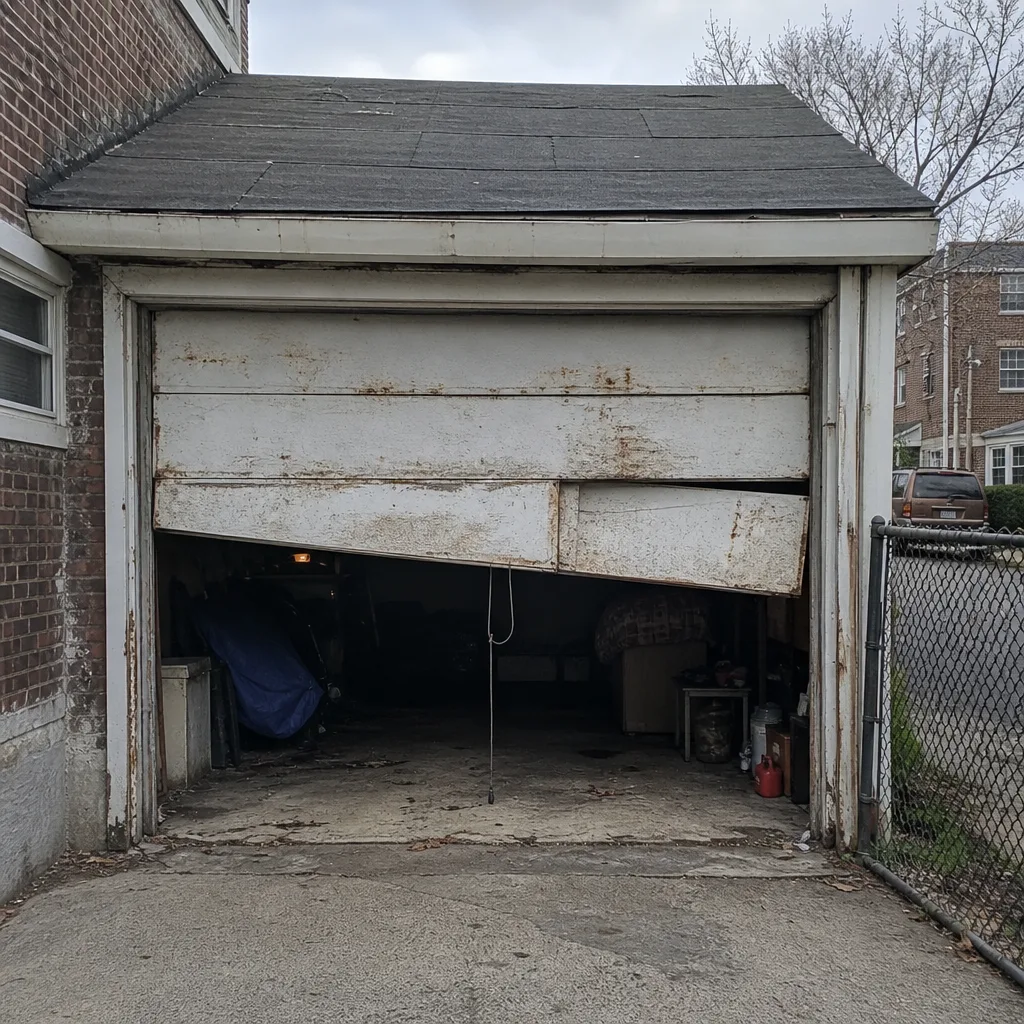 Before
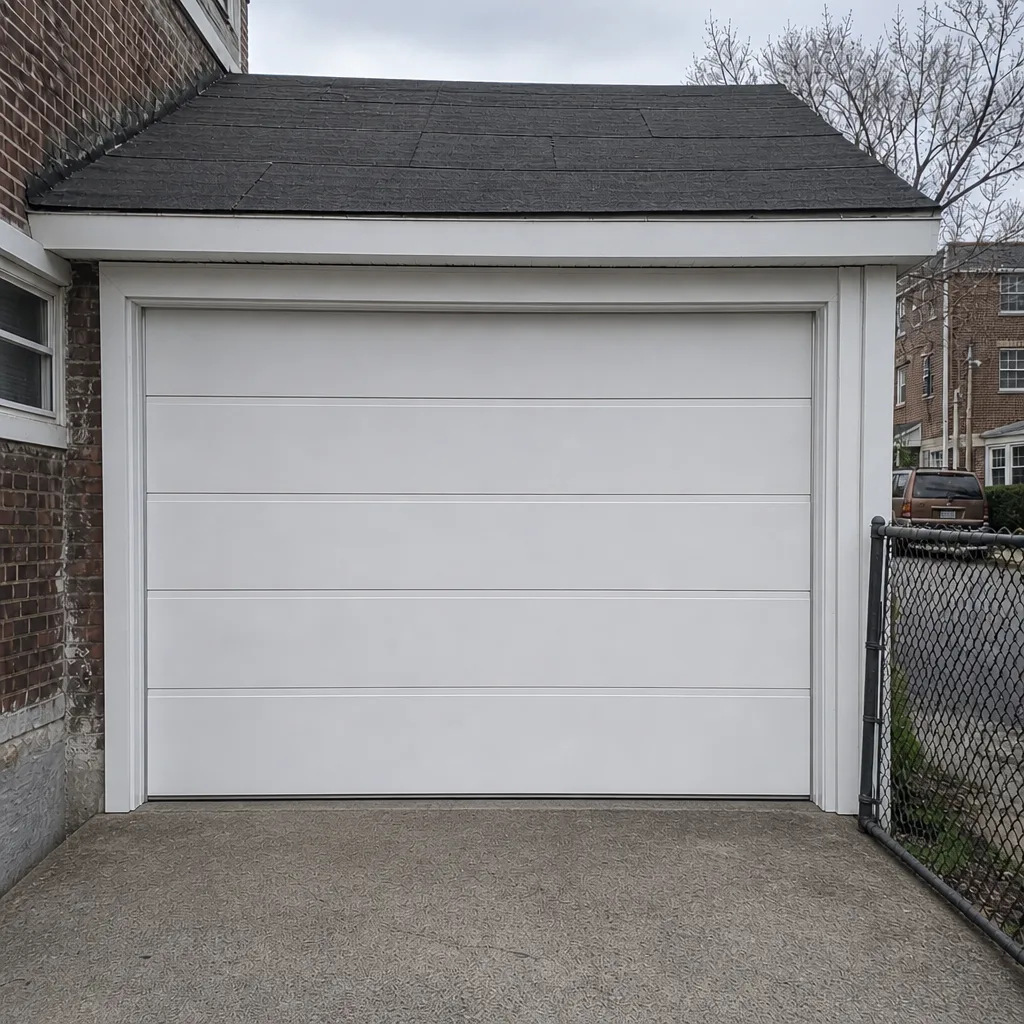 After
When to Call a Professional
Call a professional for any of the following: a spring that’s snapped, sagged or lost tension; a cable that’s frayed, slack or off its drum; a door that’s come off its track or is visibly crooked; a balance test that fails; an opener that reverses for no reason, won’t respond, or makes grinding noises. Also call if you see corrosion on the bottom brackets or drums that you can’t wipe away, because that’s a sign the hardware is weakening.
Same-day repair is available for most of these issues. We answer 24/7. A call outside dispatch hours is booked into the next opening, Sunday through Friday, 7am to 7pm. Garage Door Repair Parkchester offers free estimates in Parkchester; call (866) 966-1056. Spring repair is dangerous DIY territory, and it’s what we’re here for.
Frequently Asked Questions
Monthly during winter and every two to three months the rest of the year. Parkchester’s road salt and humidity dry out moving parts faster than a dry climate would, so winter lubrication matters most. Use white lithium grease on hinges and rollers and silicone spray on the weather seal. Call (866) 966-1056 for an exact quote on a professional tune-up; estimates are free.
White powdery residue or rust streaks on the bottom brackets and cable drums. Those are the lowest hardware on the door and catch the most street spray. Wipe them clean monthly and check quarterly; if corrosion won’t come off, or the cable shows fraying, call a professional.
No. Torsion and extension springs are under extreme tension and can cause serious injury if handled without training and the right tools. This is one of the most dangerous repair jobs on a home. Leave spring work to a technician and stick to the inspection and lubrication items on this checklist.
No. We quote the price and agree it with you before any work starts, and the written estimate sets the final price. If more work turns out to be needed, we discuss it with you first. Call (866) 966-1056 for a free estimate in Parkchester.
Very likely. We work on virtually every major brand, including LiftMaster, Chamberlain, Genie, Clopay, Amarr, Wayne Dalton, Craftsman and Raynor. That covers most residential systems, so diagnosing your door doesn’t mean guessing at parts or leaving you on hold for a referral.
Same-day repair is available for most stuck or broken doors. We answer 24/7, and fast dispatch runs from 7am to 7pm, Sunday through Friday. Call (866) 966-1056 and we’ll get you scheduled into the next opening.
The Bottom Line
A garage door checklist for Parkchester has to account for what the door actually faces: road salt, urban humidity and cold-weather swing. The monthly layer catches noises and seal damage. The quarterly layer handles rollers, hinges, cables and drums. The annual layer is where a professional tests springs, balance and the opener together. Do the safe parts yourself, leave springs and cables to a technician, and you’ll get years more out of the door. If your inspection turns up something, a free estimate tells you where you stand.
One call covers it: Garage Door Repair Parkchester handles repair, opener service, installation and emergency response. Call (866) 966-1056 for a free estimate today. We answer 24/7, with fast dispatch from 7am to 7pm, Sunday through Friday.
Written by the team at Garage Door Repair Parkchester.